![]()
![]()
![]()
![]()
![]()
|
| Please Support our Sponsors |
 |
 |
||
 |
|
T17 Deerhound Armored Car
Model Photos
Model Kit and Photos by James Kellett- North Vancouver, B.C. CANADA

(1/35 Best Value Models Model Kit)
|
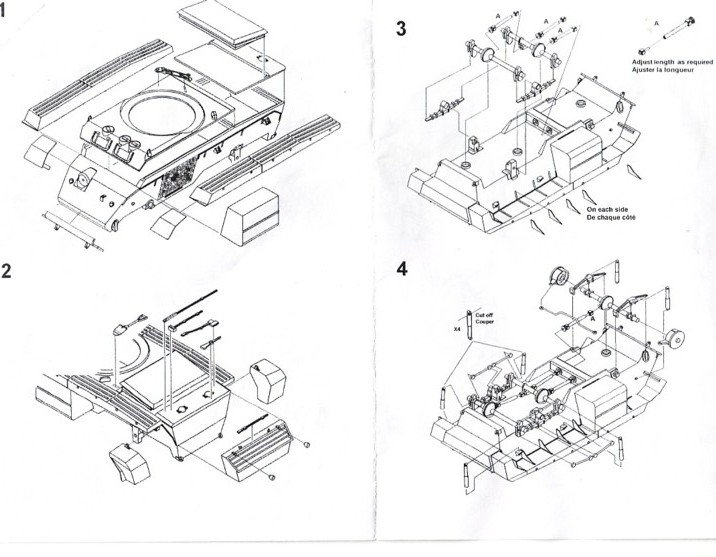
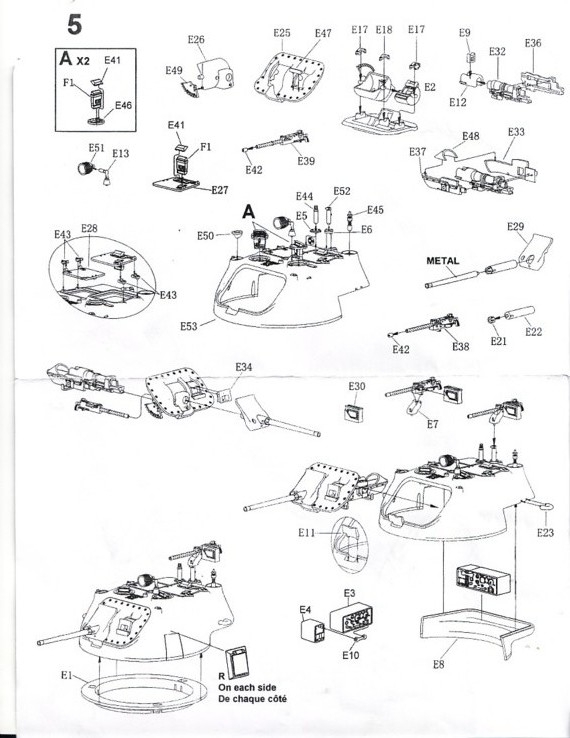
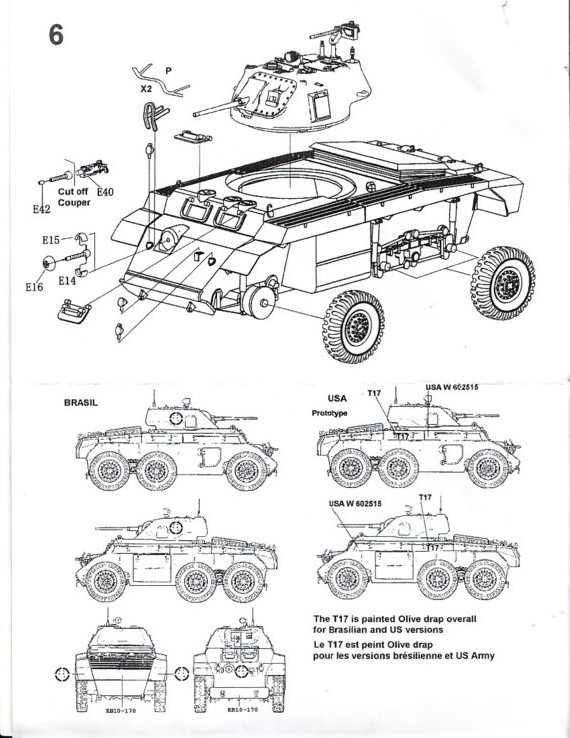
The kit is composed of a resin hull, running gear, wheels and tools. Also, there are a brass photo etched fret (for the headlight guards) and a decal sheet with markings for either a US Army or a Brazilian vehicle. The turret is from the Bronco Models Staghound Kit (CB 35011). BVM provide the full Bronco Models Sprue E for the turret, less parts E 31 and E 35 (Staghound drive shafts) and 2 periscopes from Sprue F. Scans of the BVM instructions are above. The BVM instruction sheet steps 1 through 4 deal with the assembly of the hull. The hull, running gear, ancillary storage bins and tools were very easy and quick to assemble. I did not use the photo etched headlight guards provided in the kit but I used some Italeri Sherman parts from another modeling project instead. The BVM instruction sheet step 5 deals with the turret assembly and is a copy of the Bronco instructions. However, if you want an accurate model of the T 17 turret the following changes should be made:
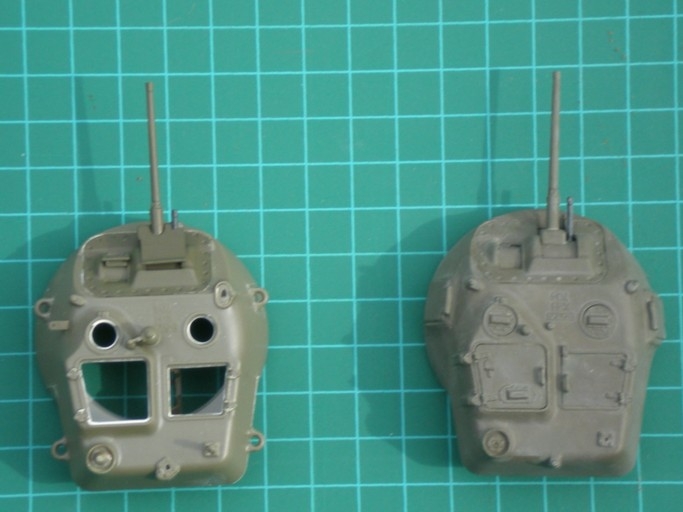
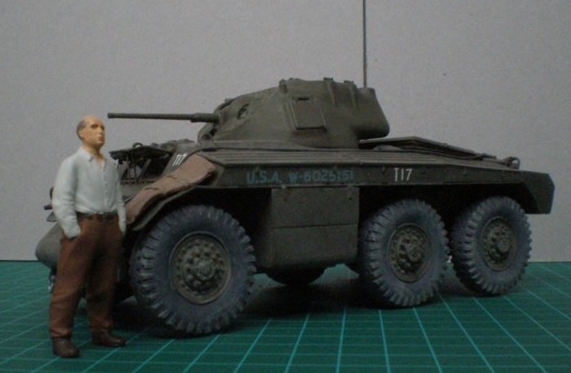
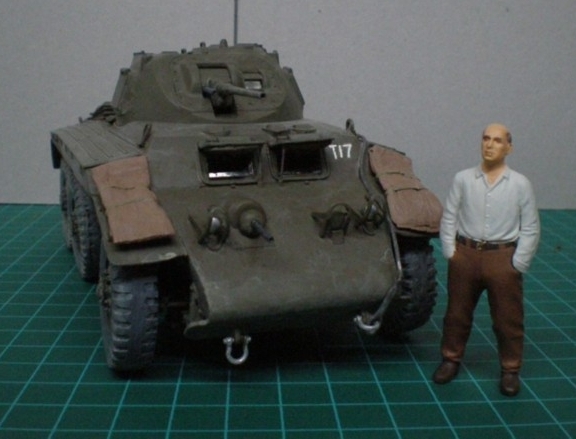
The turret assembly is more involved than the hull assembly. I have attached an overhead photo showing the differences between the Bronco turret and the T17 turret with the changes listed above. In the photo above, the modified turret is on the right. Step 6 of the instructions is for the final assembly and the only additions I made were clear plastic windshields and stretched sprue supports for the driver’s and hull gunner’s visors. I did not use the Decals provided by BVM since I decided to model the T17 undergoing tests at Aberdeen Proving Grounds. All photographic evidence I gathered indicated the use of blue drab registration numbers rather than the white numbers provided. I used blue-drab Archer Fine Transfers for the registration numbers and white Ultracast Decals for the T17 makings on my Model. |
| Copyright March 25, 2008: James Kellett |