![]()
![]()
![]()
![]()
![]()
|
| Please Support our Sponsors |
 |
 |
||
 |
|
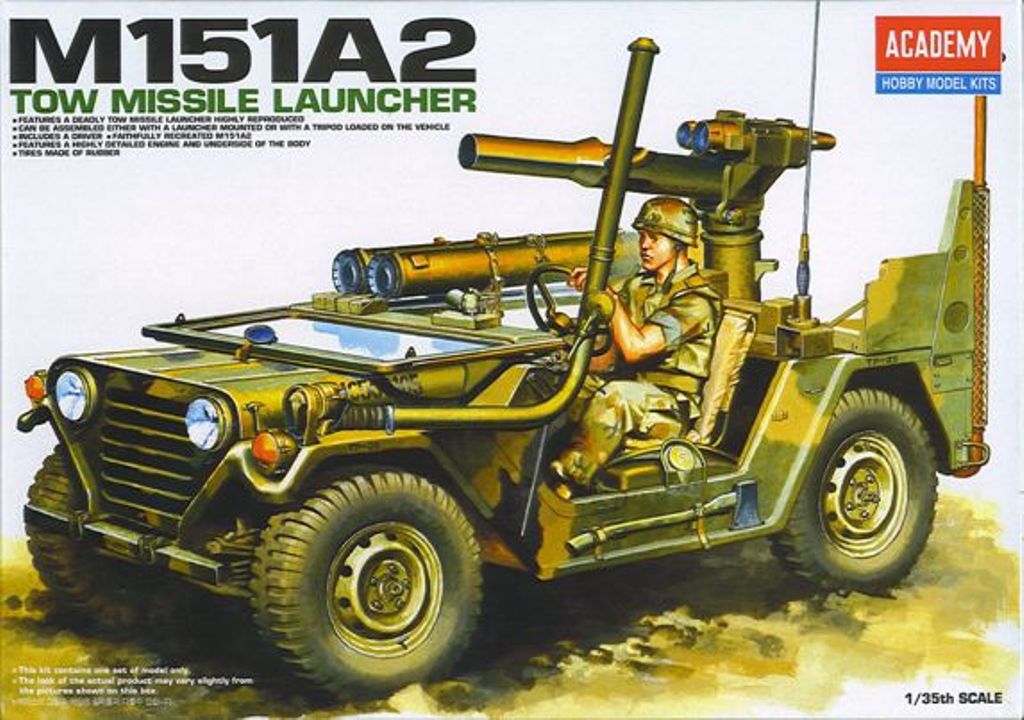
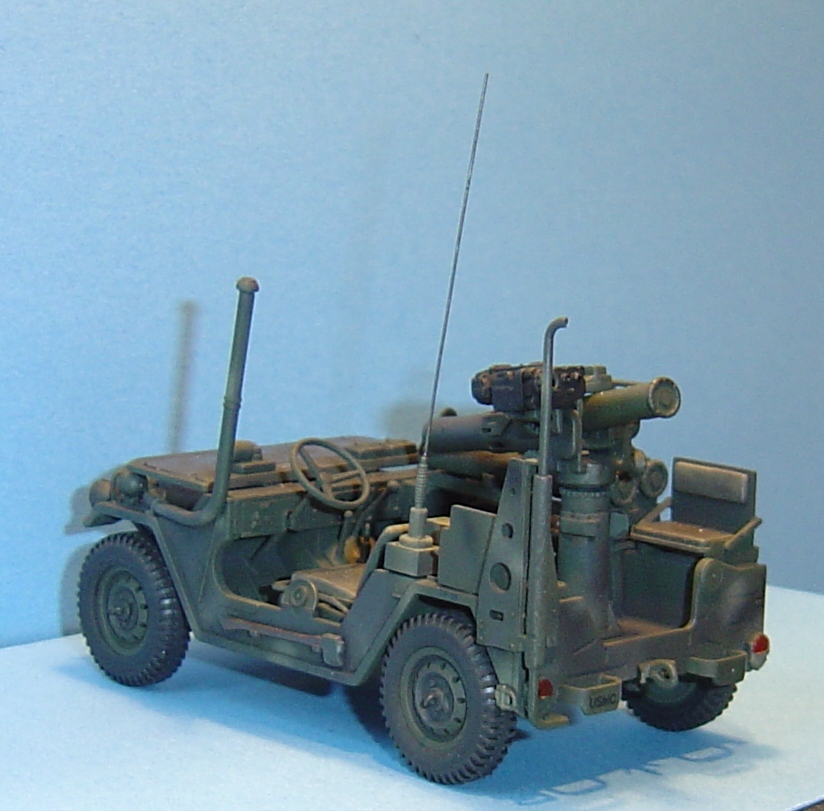
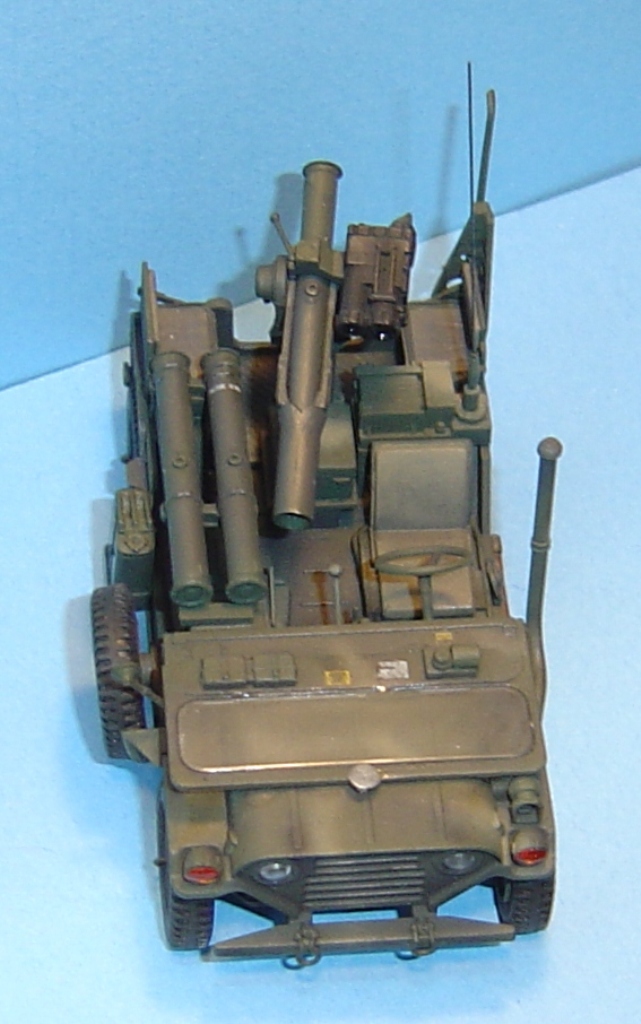
1/35 Academy M151A2 Mutt TOW Missile Vehicle Review
By Patrick Keenan - Editor
Basic Item Information
|
Item |
M151A2 Mutt TOW Missile Launcher |
|
Stock Number |
13406 |
|
Manufacturer |
Academy |
|
Scale |
1/35 |
|
Medium |
Styrene Plastic |
|
Kit Contents |
213 Green & 25 Clear Plastic Parts; 5 Vinyl Tires |
|
Retail Price |
$18.00 USD |
|
Reviewer |
Patrick Keenan |
|
Review Date |
October 1, 2006/January 18, 2007 |
Review Summary*
|
Review Type |
Normal Build Review |
|
Basic Positive Features |
Major improvement over previous kits of this vehicle |
|
Basic Negative Features |
Vinyl Tires |
|
Overall Rating |
3.5 of 5.0 |
|
Kit Accuracy Rating |
3.5 |
|
Parts Fit Rating |
3.5 |
|
Parts Casting Quality/ Detail Level Rating |
3.0 |
|
Decals, Marking/ Painting Information Rating |
3.5 |
|
Instructions/Packaging Rating |
4.0 |
|
Recommendation |
Recommended |
* For information regarding the review terms, grading scale, etc. please go to the WarWheels Review FAQ/Key
___________________________________________________________________________________________________
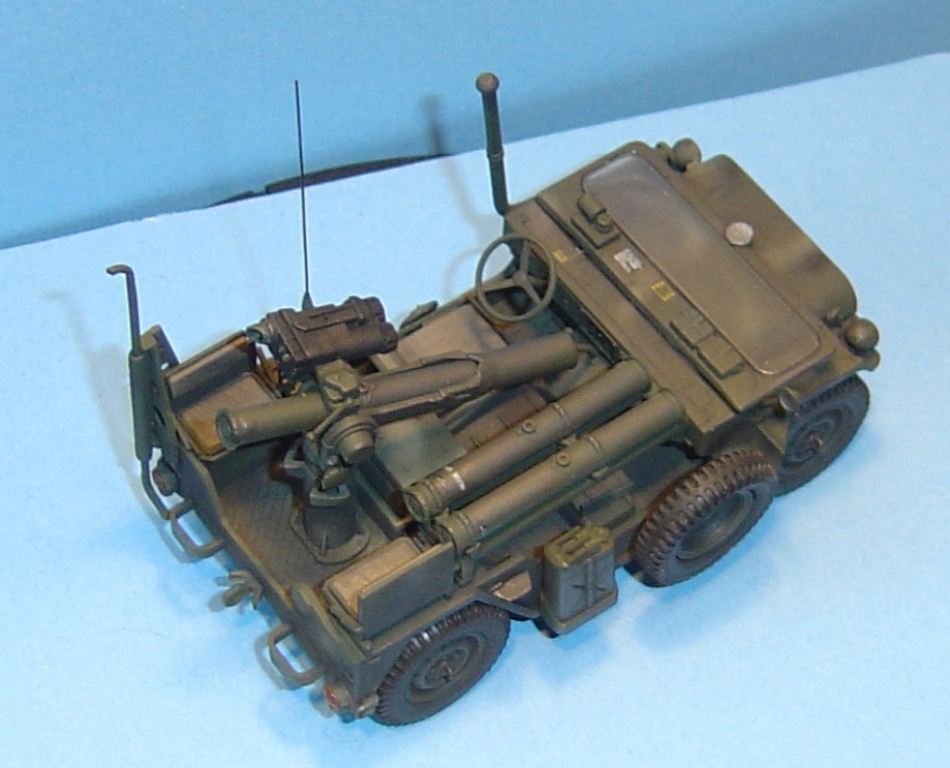
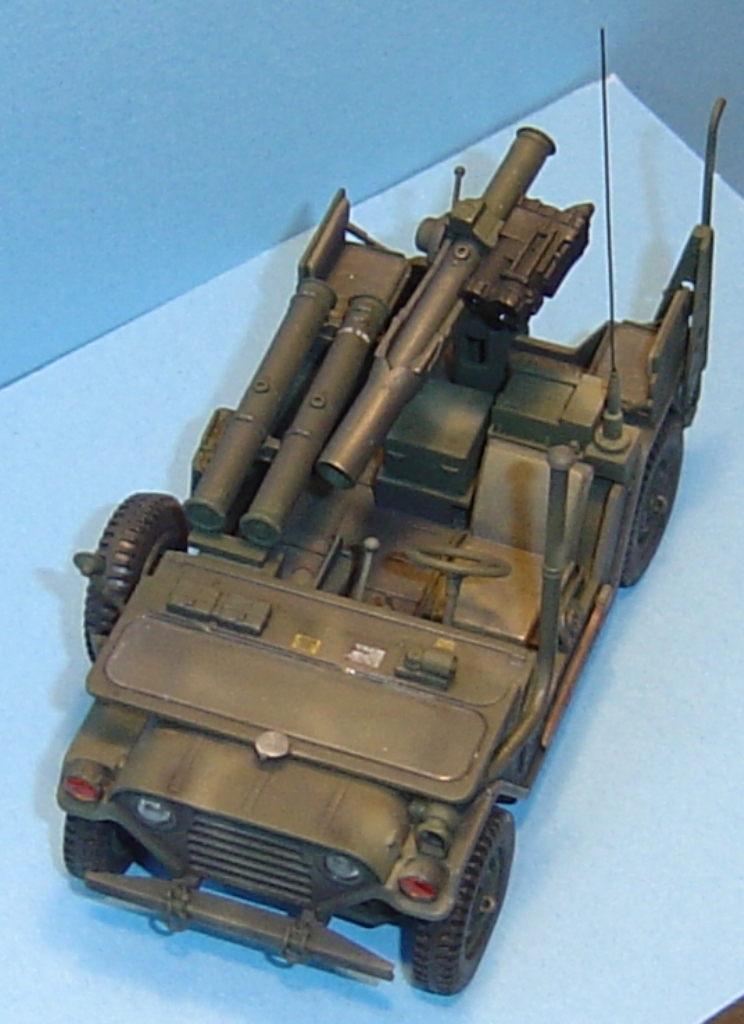
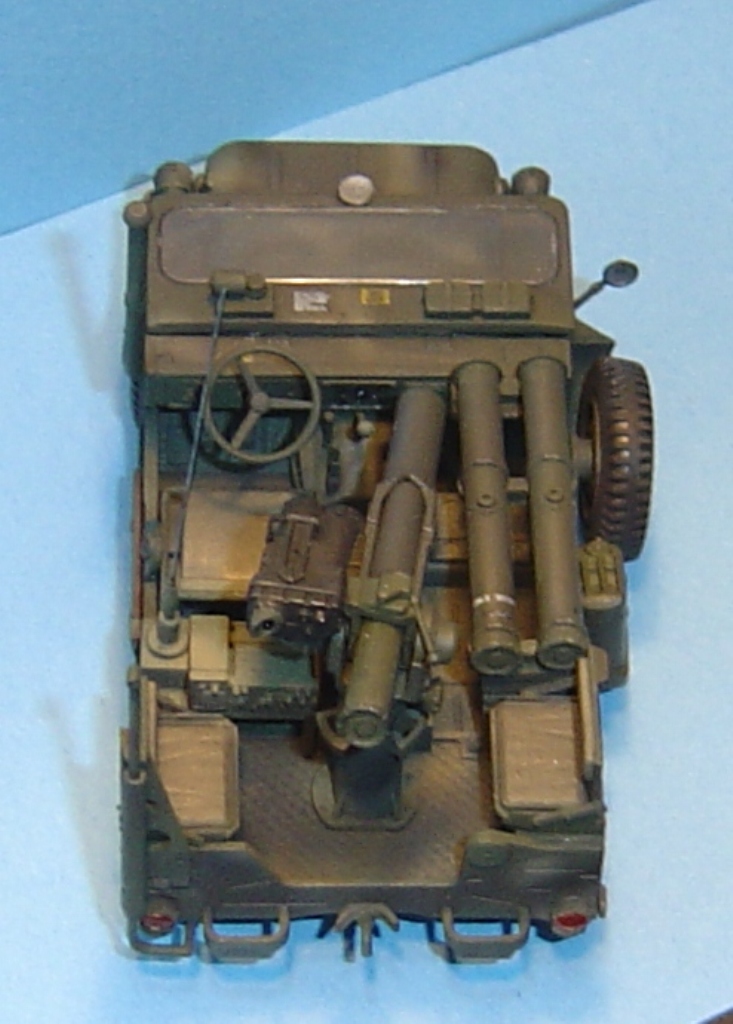
Photos
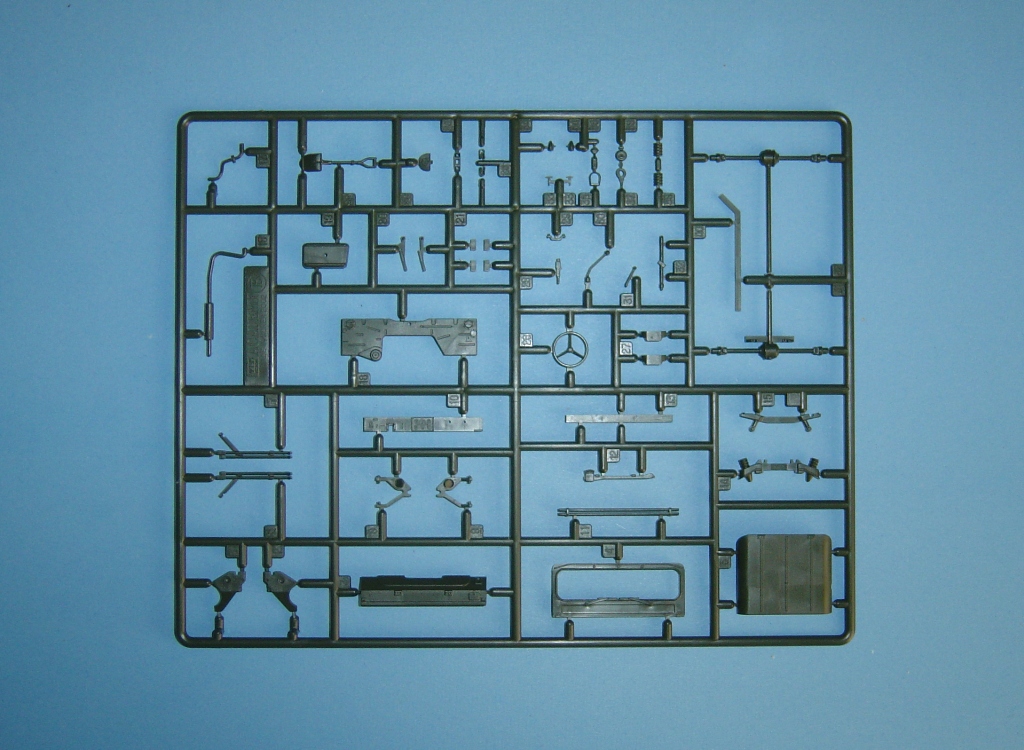
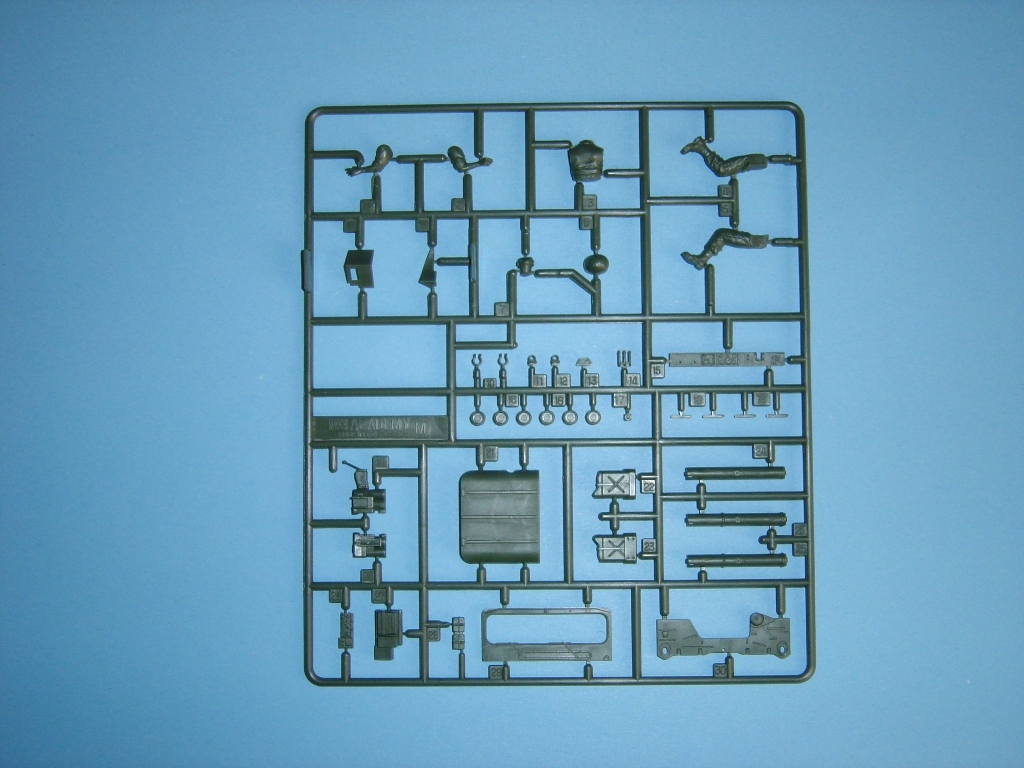
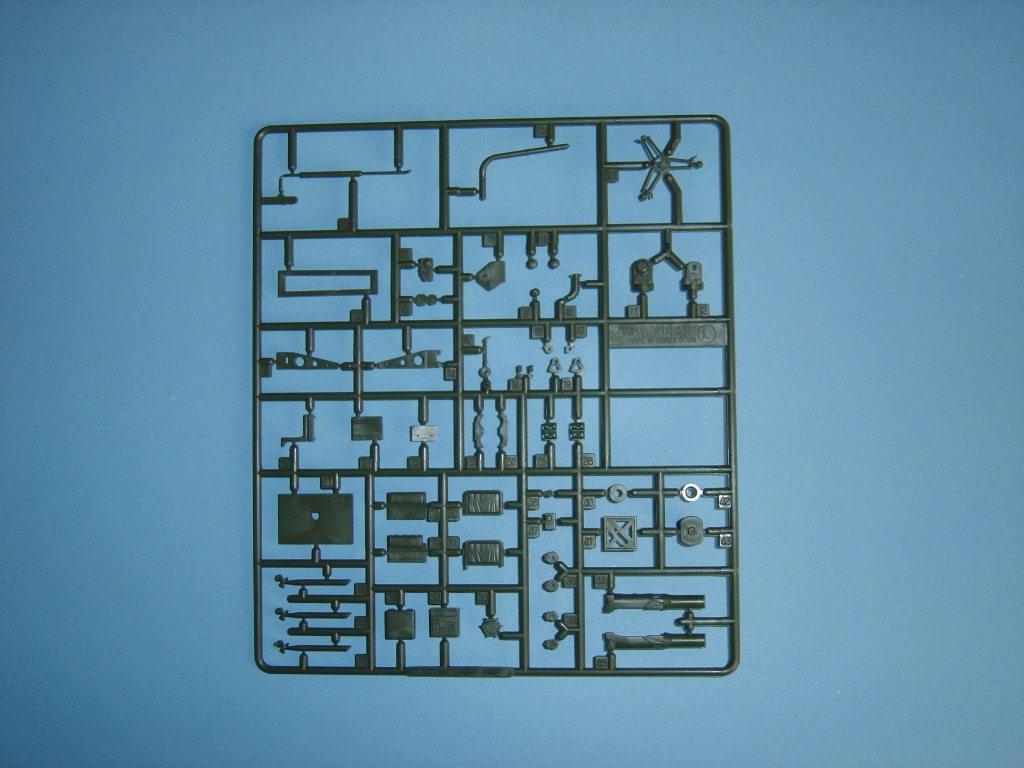
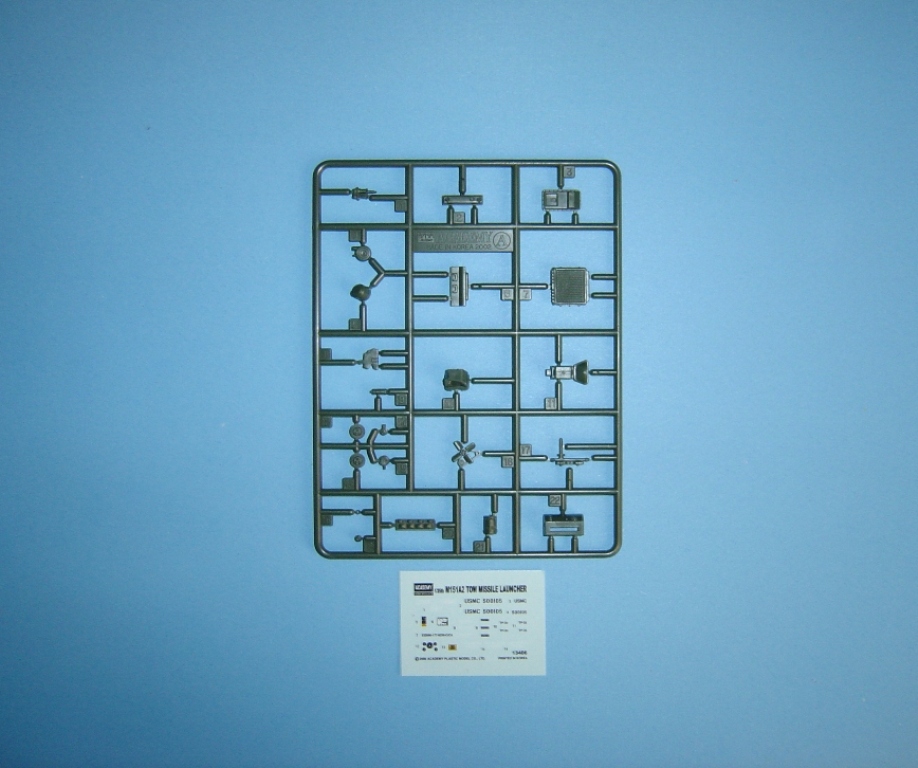

Detailed Review
|
Background |
|
This is review was done in two parts.
The 1st Part was conducted in late October 2006 as an “In Box” or
“first Look” review. It was done as a rudimentary
review where I closely examined the kit parts, instruction sheet,
packaging, prior to constructing the kit. I provided
comments of my first impressions gathered while viewing the contents
only. The second part was the “build portion” of the kit review.
Part 2 addressed my impressions/feelings while building the kit
and after finishing it. Instead of totally
redoing my review based on the construction process, I decided to leave
my initial first review comments as is. However, as I
did further comments outlining my impressions and feelings after
actually building the kit, I've decided to add further text when needed.
As would be expected, I also modified my conclusion a bit too.
Any text added or changed as a result of the build portion of the
review will be in Dark Red font. On to the review.... When I heard of this kit coming out, my first
thought was, “Is this a re-release of Academy’s earlier kit (No. 1325)
or is it based on their better M151 Mutt kits of a few years back?”
Obviously I was hoping it was the latter answer, and I was NOT
disappointed. This kit IS new!!!!
YES! |
|
Kit Accuracy |
|
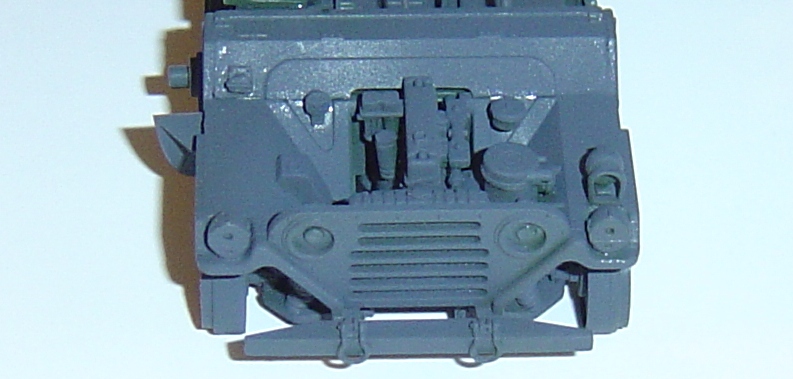
All in all, the kit looks fairly accurate and is
comparable to Academy’s very good earlier M151 Mutt kits. The only thing
that really stands out to me as being inaccurate is that the bumper
provided in the kit is the shorter U.S. Army version, not the U.S.
Marine Corp bumper. That would not normally be a
problem, but since Academy offers this kit only as a USMC vehicle, then
it becomes a negative issue. Not a major problem, easy to fix, but the
puzzling to me. The USMC vehicle has a longer bumper with tow hooks on
the ends. I have also heard that the underside
suspension/chassis is a bit off in accuracy, but I do not have
references to substantiate those comments. I don’t discount it, I
just can’t verify it. However, since this concerns the bottom of
the vehicle, even if the comment is true, it wouldn’t bother me at all.
I won’t be able to see it! |
| Fit of Parts |
|
I built this kit out of box for purposes of the
review. The only extra item I added besides the kit
parts was a piece of wire to simulate the radio antenna. All in all, the fit of the parts was decent enough;
Nothing spectacular, yet no major problems cropped up either.
I said no “major” problems came up, but as usual, this kit had
its own fit idiosyncrasies like most others. One
minor headache I did discover was that in some cases it was difficult to
decide where to attach a kit part/sub assembly since there were no
alignment pins or markings as to where to attach them.
The biggest problem of this type was with the
alignment of the engine inside the engine compartment.
It seemed like it just didn’t want to sit right wherever I put it
and the instructions didn’t help much. A lot more
time was spent on this portion of the construction process than should
have been the case. I’ll definitely take
responsibility for some of the problem, but I feel that Academy could
have done a bit better on this part of their kit.
With that being said, I modeled the vehicle with the engine closed so
only a bit showed on the bottom. |
|
Quality of Casting/ Detail Level of Parts |
|
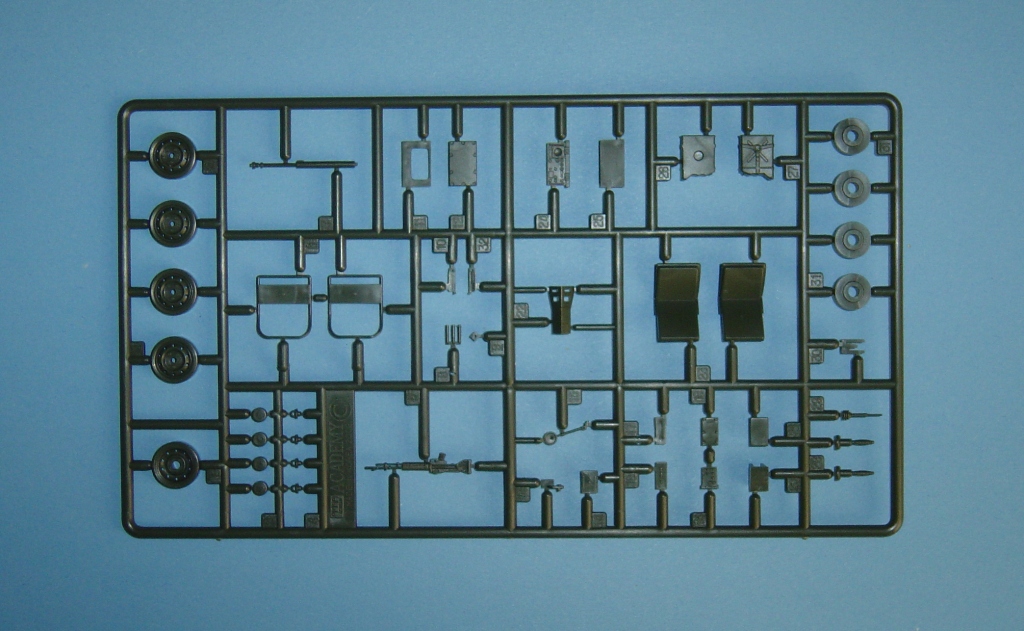
The quality of the casting of the kit parts is very
good. There is no flash on the pieces and only a few
knock out pin marks. Most of the knock-out pin marks
are on the back or underside of pieces, so not much filling (if any)
will be needed. The detail of the kit parts is a bit basic however.
They aren’t badly detailed, but they aren’t as detailed to me
when compared to new kits from other companies (e.g. Tamiya, Dragon,
Tristar). However, there are a lot of parts included
in the kit, and these make up for the limited detail of each individual
part. To me, this is a true case of synergy (the
positive effect of combining the parts is greater than the sum of the
parts acting independently). Also, the kit layout seems very logical in how the
sub assemblies are created. Sometimes, model
companies create kits with many parts so they can say the kit is made up
of X amount of parts. They feel (and assume some of
the model builders do too) that the more parts in a kit, the better the
kit. However, in many of those cases the kit becomes
over complicated and needlessly difficult to build.
In the case of this M151 kit, although Academy gives us a ton of pieces,
the parts appear to be designed in a logical way, and not overly
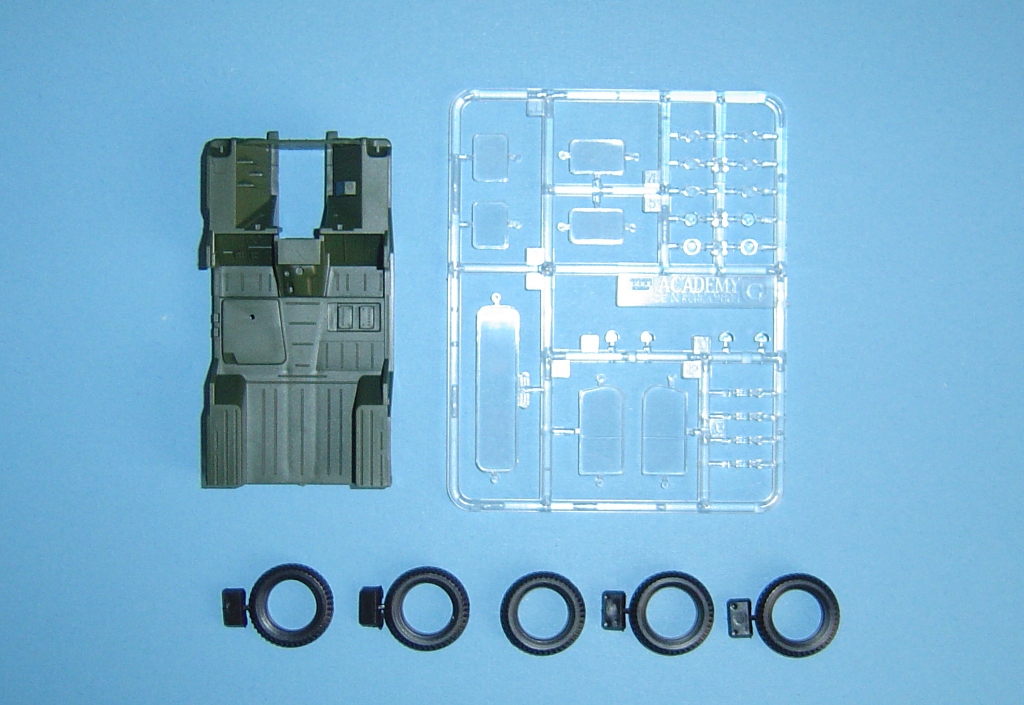
complicated. The one true negative aspect of this kit (to me) is
that Academy provides Vinyl tires. Dang, I hate vinyl parts in
model kits! They don’t look real, it is hard to remove flash,
seams or molding “nubs”, you can’t fill mistakes with putty, they are
darn near impossible to make look realistic when painting and some vinyl
wheels in kits have been known to eat away the styrene plastic they come
in contact with. As a fairly involved hobby modelist, I really see
no logical reason for the practice of providing vinyl parts in a model
kit by model companies; the only exception being the poly caps some
companies provide to help wheels “roll” or move. To me, the only
“reason” for following this practice is for the same reason why
companies provide colored plastic; as a gimmick to cater to the
novice/rookie modeler by being able to state that they don’t have to
paint the kit.After finishing the kit construction, I only have a bit to
add on the section regarding quality of casting. I
did find that there were a few knock out pin marks in strange locations,
but any decent modeler should have no problem fixing them.
The reason I bring this point up is that in some of those few
instances, I was a bit puzzled why Academy didn’t just change the pin
release area. For instance, while constructing the
suspension, I found pin marks on the springs (parts B14), where they
would show. I don’t know why they couldn’t have been
on the other side where they wouldn’t be seen even when turning over the
vehicle. Again, nothing major but a head scratcher
none-the-less. In terms of the detail level of the parts, the only
thing I have to add for Part 2 of the review is that in a couple
instances, I found that Academy really could have made separate parts
from one in order to increase the detail level. For
instance, the windshield wipers were molded into the window frame,
whereas they would have looked much better as separate parts.
On the flip side, they did improve the detail level of the
earlier M151 kits by adding additional parts for some assemblies.
Why they didn’t do that with the wipers is beyond me.
For instance, the replaced the original cargo bed back plate
which had clunky molded on details, with a nicer, more detailed one.
Kudos to them on that account. Warning! Danger! Change of Opinion coming!!
In Part 1 of my review I made a comment to my utter dislike of
the practice of using vinyl tires in general and specifically that they
were included in this kit. However, after reading my
own comments, I started thinking there “has to be a better way” of
dealing with vinyl tires. I tried some new techniques
(for me at least) and found one that MUCH worked better than what I had
done in the past. In fact, they worked so well and so
easily, I must take back a lot of what I said previously about vinyl
tires. I still wish model companies would supply
plastic tires instead of vinyl, but I really don’t dread working on them
like I did in the past. The technique I employed to clean up the M151 Mutt
tires was to fully use sanding materials (steel wool, sanding sticks and
fine grit sand paper) instead of using cutting instruments (scalpel or
hobby knife). In the past, I tended to use a hobby
knife most of the time when cleaning up kit parts, with vinyl tires
being no exception. This time around, once I nipped
off the tires from their mold trees, I did not touch another cutting
instrument. I used a variety of successively finer
sanding materials to take off the mold seams and casting plugs until
they were completely smooth. The material Academy
used for the tires, responded well to this method. The final step was to take away the “shine” of the
tires. I used steel wool and lightly buffed the tires
until they became dull in appearance without pitting or ruining the
smooth finish. They finished almost gray in color,
just like real tires. In fact, this technique worked
so well I did not need to do another thing to the tires to make them
look real. I hate to use the word “perfect”,
but I have to say I was VERY happy with the finish of the tires using my
“new” technique that I couldn’t have asked for a better result. Please
note: I am not sure if this technique will work with vinyl tires
provided by other manufacturers, but I will not hesitate to try it out
when I come across them in the future. |
| Decals, Marking Information and Painting Information |
|
The decals themselves are very good, on register
and produced in bright, crisp color. I do have to say
that I am fairly disappointed since the kit only comes with one vehicle
marking option; a generic camouflaged USMC TOW carrier.
Couple this with the fact that Academy did NOT provide the Marine
front bumper and this makes their markings choice a head scratcher.
I can’t see any reason why they couldn’t have
provided US Army markings too. The decal sheet is
tiny at about 1 ½” X 2”, so I really believe that it wasn’t a cost
issue. A modeler can easily depict a US Army vehicle
by sifting through their spare decal scraps box and not putting on the
deep wading gear parts, but I have to wonder why I should have to go
through my decal scraps for something that really should have been
provided in the first place? On the other hand, the markings and painting
information Academy provides is top notch. The
diagrams are very well done and not overly complicated.
The color differentiations in the pictures are easy to understand
and decipher. The only addition I have to this section is that
the decals were indeed easy to use and looked good when finished.
They were very thin, but not brittle and yet surprisingly tough
and strong. In fact, during one decal application I
surely thought that my ham fisted modeling manner would have destroyed
the decal, but alas it did not crumble. One word of advice though, the
decal backing paper is fairly thick when compared to others I’ve
encountered. Definitely use a VERY sharp hobby knife
or cutting instrument when working with the decals. I
made the mistake of using a “dull” knife blade and I ruined a decal in
the process. |
| Instructions/Packaging |
|
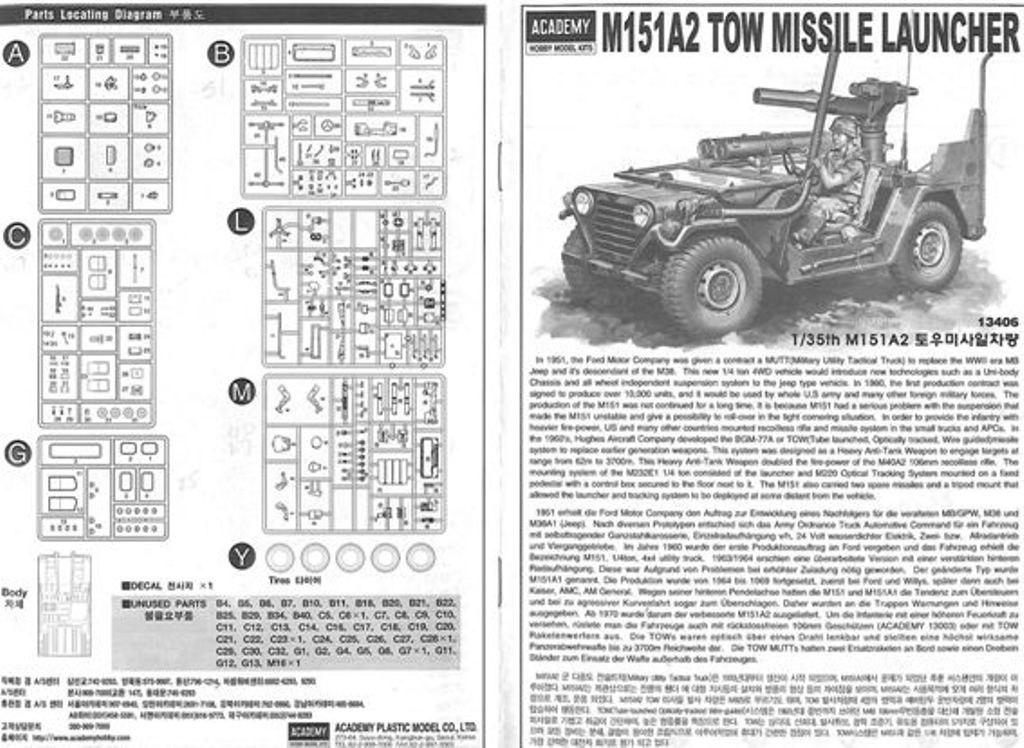
I believe Academy produces some of the best
instructions out of all of the modeling companies I’ve experienced.
That positive point really comes down to the quality of the
diagrams they provide. They aren’t the prettiest or spiffiest
instructions, but they get the job done in the easiest manner possible.
This might just be my opinion, but to me Academy provides
diagrams with just the right amount of information to show the modeler
exactly what they need to do. Some model companies give you so little information
in the instructions that you may be guessing much of the time as to what
goes where and when. They assume you have a library
full of reference on a specific vehicle. Other model
companies try to put too much detail in the instructions and they make
them hard to read, understand and decipher. Academy routinely provides
clear and concise instructions that definitely leave no room for
misunderstanding. With the TOW Mutt, they fully
succeed again. |
| Conclusion |
|
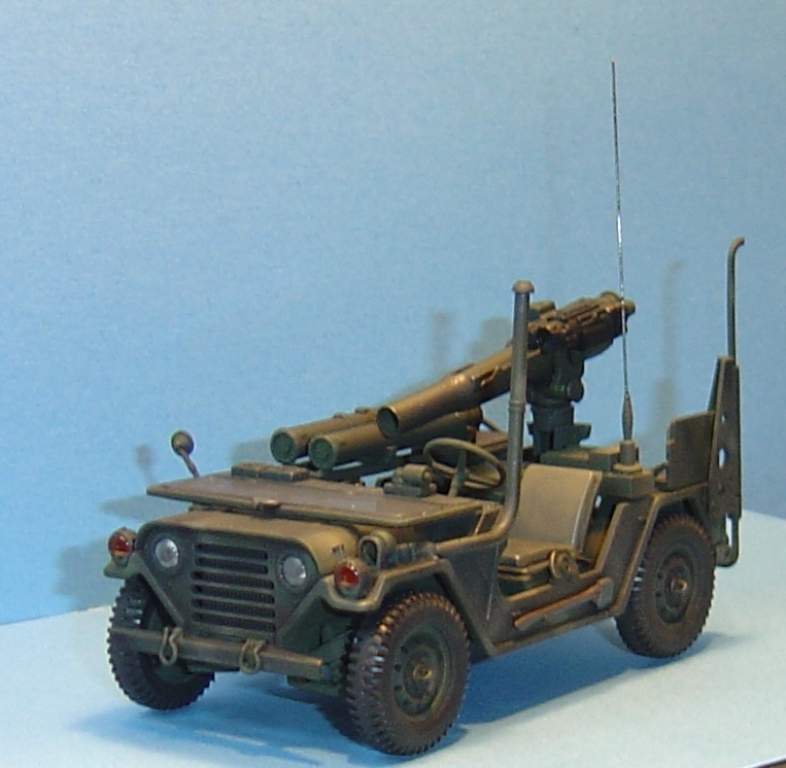
I am very happy to see this new kit of the M151A2
Mutt TOW carrier become available. It is the best
styrene version of this cool little vehicle out on the market. Thank
goodness it is not a re-release of Academy’s kit #1325. However, I am
bit disappointed in the level of detail of the individual parts Academy
provides. I guess kit manufacturers like Tamiya,
Dragon, Tristar and AFV Club are beginning to spoil me.
After constructing the kit though, the model does
look nice and I am very pleased with the result. I am very happy
to have a model of this interesting vehicle in my built model collection
(as opposed to my kit stash). My first impressions during my
in-box review (Part 1) were confirmed in that Academy kit does provide a
very good rendition of the real vehicle when completed. However, as a
result of the build review my numerical rating has changed a bit, but
not my general conclusion.Recommended. |
| Copyright: Patrick Keenan - October 2006/ January 2007 |