![]()
![]()
![]()
![]()
![]()
|
| Please Support our Sponsors |
 |
 |
||
 |
|
Review of 1/72 Retrokit
Lancia IZM Armored Car Model Kit
by Jeff Larkin - Silver Springs, NM USA
|
First Impression/Inbox Review
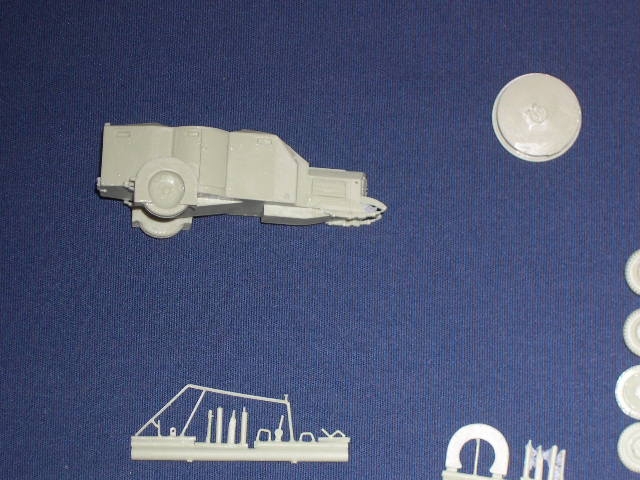
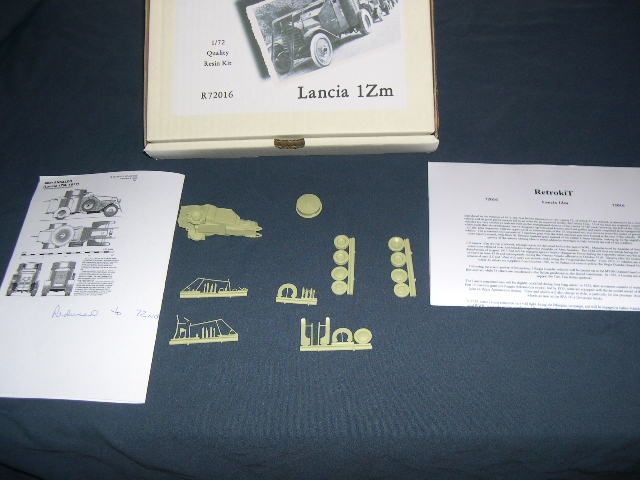
First off this looks to be a nice 1/72d scale resin kit. The boxing comes with a nice black and white photo of some of the Lancia’s in column with some views of the markings. Upon opening the box you will find inside a nicely packed resin kit. It consists of 38 well casted parts in a light green resin. You have the option of making either an Italian WW I vehicle or a later Italian car or a German variant.
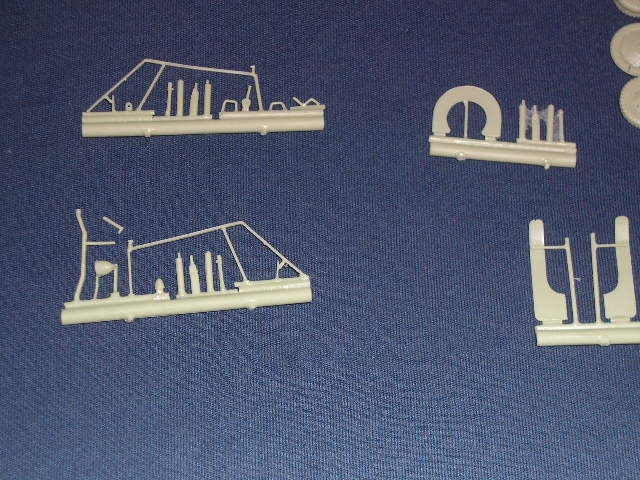
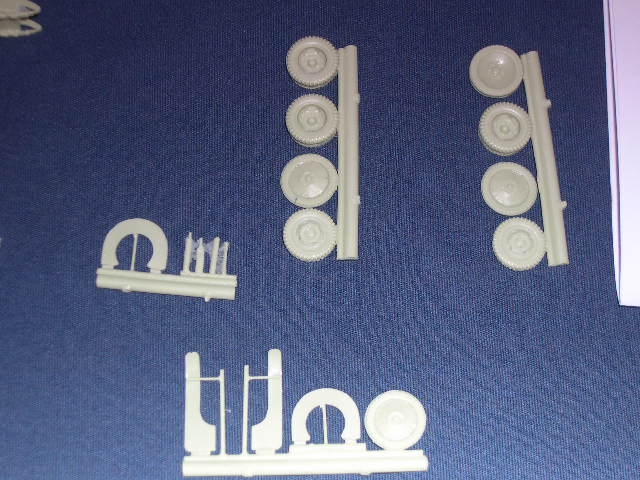
The parts are arranged in the following manner: A Hull which seems pretty close in dimensions; A turret, that while well cast, seems a bit flattened and a bit off in scale. It's not terribly off, but noticeable when compared with my References. There are two sprues of Wheels with 4 on each; a sprue with the front fenders and another spare wheel and rear Wheel cover. Another sprue has the other rear Wheel cover and some very small parts such as MG’s, Supports, Etc. Then there are two almost identical sprues that give you the other items for the kit’s completion with the main items being the ramped wire cutters and steps. The casting is quite good and most of the details are quite delicately cast with only a minimum of flash and only one part (The front head light bracket) broken! I thought that was very impressive for such a delicate kit. I would suggest that if you don’t have a fine razor saw for removing the small and delicate parts, you should go out and get one before you proceed. Care will have to be used to remove them without breakage.
I did notice almost right away that the rear dual wheels are cast with the hull. While well done, this is not in my opinion a good move on Retrokit’s part. They do provide extra wheels for a German version which they instruct you add after removing the cast in wheels. I feel that they should have cast them separately so as to provide a more accurate presentation of the Lancia. It is odd they didn’t as they have all the items already mastered. The Wheel Covers, and even a set of dual Wheels for a spare that if done again, could be used to make the wheels separate. Maybe they might provide this option in the future.
The instructions are simple drawings that are quite well done as far as my experience with resin kits goes. The are on a single sheet and appear easy to follow. There is one error or discrepancy in the instructions that I found as they have you place the dual wheels under the Hull in the rear of the vehicle. In the photos I have been able to find, the dual wheels are mounted on the side replacing the single tire set- up. This may just be a variation of spare tire stowage though, so please check your references. While the instructions look straight forward I will know more about that during the construction review (which is next) I suppose. In the instructions, there is also a nice history of the Lancia 1Zm’s service life and use.
No markings or painting instructions are included and references are not very plentiful. What I have been able to find on markings are quite simple. Consisting of Colored bands around the turret, and side markings that I just can’t make out as of yet. The side markings look to be some sort of Data plate or unit ID? Not sure as it is a White rectangle with what appears to be black writing. In this scale it should be easy to represent. The Base color of the car seems to be a mid Green color similar to Forrest Green. I will continue to research the colors as best I can for the construction review.
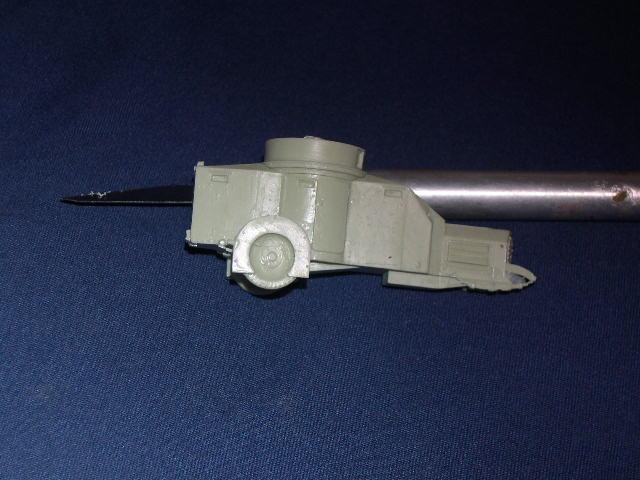
Photos of the Model Kit Parts, Box and Instructions
(Please note that the Line Drawing in the left of the 1st photo does NOT come with the Model Kit)
Build Review
First off I looked the kit over (Yes I know I did the inbox review, but I did take another look anyway). There was minimum of clean up needed; a bit on the rear hull removing what was left of a casting plug and the two attachment points on the turret and some minor flash on the small MG parts sprue; Really all in all a pleasure considering it is a resin kit! Once I did this I started putting her together. I started with the turret as it is the logical place for me to start and if there is a fit problem, less to damage. The turret went on with a little work. Not much but it is a tight fit and slides in the best from the rear hull. I then added the front axle. Be careful with removing the small parts as they are quite small and break very easy! I found this out the hard way, so beware. After I repaired the front axle I added it to the front springs. So far a flawless build. Next was the spare Tires which I added as per my references not the instructions. I added the single tire under the rear hull and the Dual tires on the right side hull. Again, easy.
Now I added the front fenders which need to be bent into shape for the proper look. This was easy; I just ran hot water over then as I formed them and then dipped then into Ice Cold water and they held the proper shape. I added them to the front of the hull where their locator holes were and they went on very easy. I was relieved as I thought they might be a struggle. I then attempted to use the Kit instruction steps and they were just too fragile for my ham hands. You may be able to get them off in one piece but I sure couldn’t. I decided at this point to use stretched Sprue to make new and more to scale ones instead and they worked out just fine.
Now comes the hard part, at least for me; It was adding the Wire Cutting Rails and head light! I was able to remove the wire cutting rails quite easily and was surprised as they are quite thin. I then cleaned them up and added them to the front of the hull where they fit quite nicely. Now, the head light was a bear! It was broken upon receipt so I had to repair it before adding it between the rails. After I did this, trying to get it lined up straight was not fun at all, as it kept either knocking the wire cutting rails loose or it would attach in the wrong position. I think a lot of this had to do with the fact that I deal mostly in 1/35th scale and I was having a bit of a problem with such a small and hard to attach part. But with persistence I finally attached it properly. At that time I fixed a drink and stopped for a bit! Well, after unwinding and getting ready for another headlight fight, I was surprised to see that the rest of the kit just flew together. I added the Front wheels, which I drilled out a bit to fit the axle better. Then I added the right side hull light and then the machine guns, which I also pre-drilled. I was then finished. I found it to be a fun build and easily done in an evening.
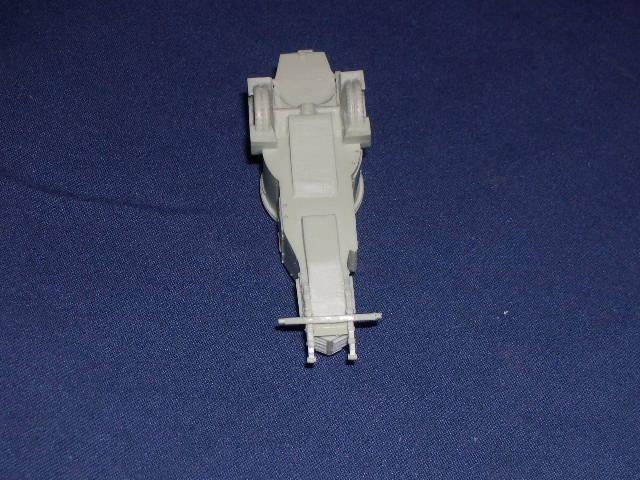
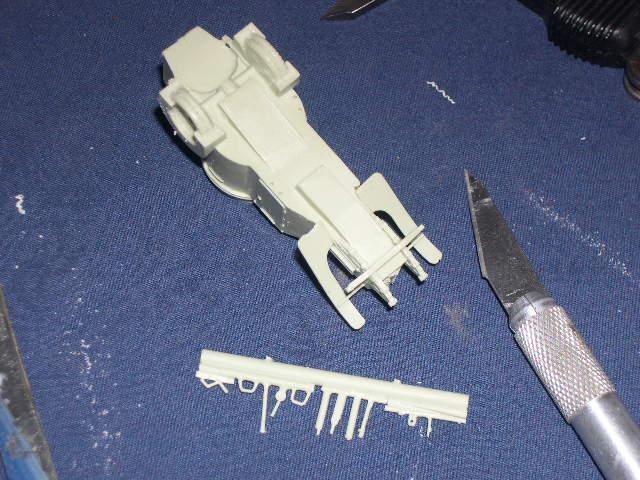
Photos of the Construction Process of the Lancia
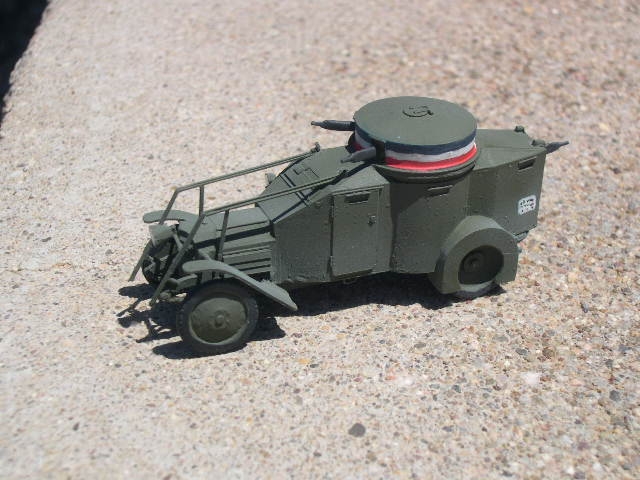
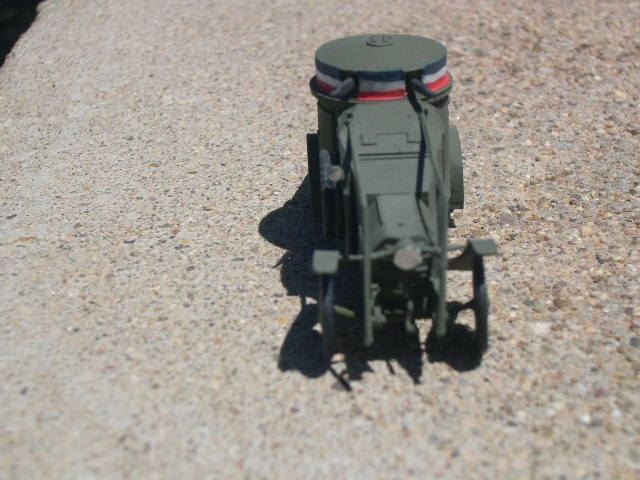
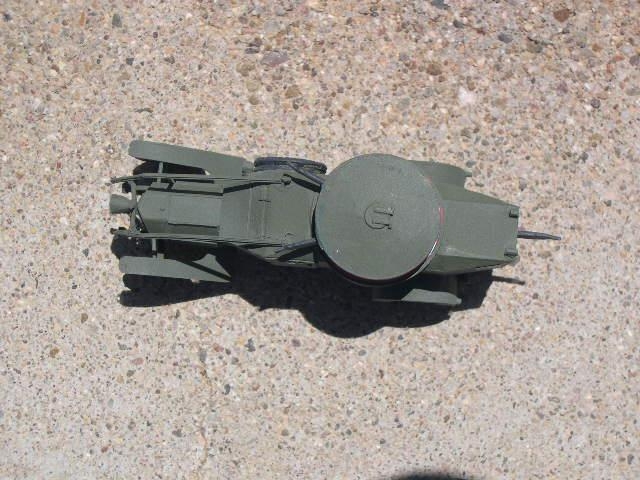
Now off to the painting bench! I mixed a close representation of the Green Paint color I discovered after an exhaustive search and hit her with my airbrush. I then painted the tires flat black. I then painted the colored bands on the turret from top to bottom in the order, Blue, White and Red. I then added a white rectangle on the left side with black lettering. Again all of this was added from the little references I could find on this cool little Armored Car.
All in all while there were a few problems for my old eyes and ham hands, I found it a pleasant build. The Kit scales out almost to the inch from my calipers at 2.89 which gives you an overall length of 17.34 feet; Almost dead on for the original 17.5 feet. Width was also dead on, but the Height was a bit off due the turret being a bit short or "squashed" looking. In conclusion while there are some minor problems with the kit I find it to be overall a nice Kit of this armored car with such a long history. It is not the best kit I have ever looked at but it is no where near the bottom of that list either. I would recommend this kit to WWI fans of Armored Cars as It looks like it will be a fine addition to any collection.
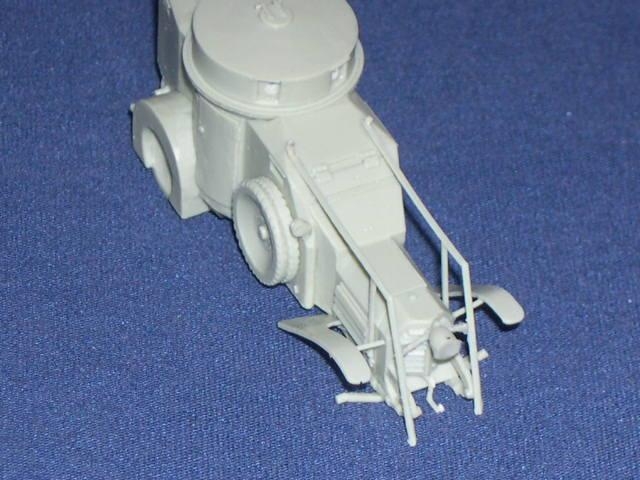
Photos of the Completed Model Kit
Thanks to Dominique Jadoul of Retrokit for the review sample.
Copyright: Jeff Larkin - May 2006
|